Workflow diagrams allow you to create a visual representation of a business process that consists of steps and paths. Complete the steps in the following sections to create and manage workflow diagrams.
Create workflow diagrams
Complete these steps to create workflow diagrams:
- Access the Workflow Manager web app.
- Click the Design tab.
The Design page appears.
メモ:
If you don’t have sufficient privileges, you won’t see the Design tab.
- Click the Diagrams button
 .
.The Workflow Diagrams panel and workflow canvas appear.
- In the Workflow Diagrams panel, click Create New.
The Step Library and Settings panels appear and a new diagram appears in the workflow canvas.
- Provide a name for the diagram in the Diagram Name text box in the Diagram Settings section of the Settings panel.
メモ:
If Diagram Settings isn't available, click a blank area of the workflow canvas to display it.
- Provide a description for the workflow diagram in the Diagram Description text box.
- Optionally, configure workflow diagram options in the Options section.
- Optionally, add spatial data to the workflow diagram in the Spatial Data section.
- Click Add Data Source.
The Add Data Source dialog box appears.
- Type the URL for the data source in the URL text box.
The data source must be a branched version feature service.
- Click OK.
The data source appears in the list. If the data source isn't available or your account doesn't have access to the data source, an invalid data source icon appears and the data source name needs to be manually entered in the Name text box.
To edit the data source, click the Edit Source button
 , and to delete the data source, click the Delete Source button
  .
.
- Click Add Data Source.
- Use any of the following methods to add steps to the workflow diagram:
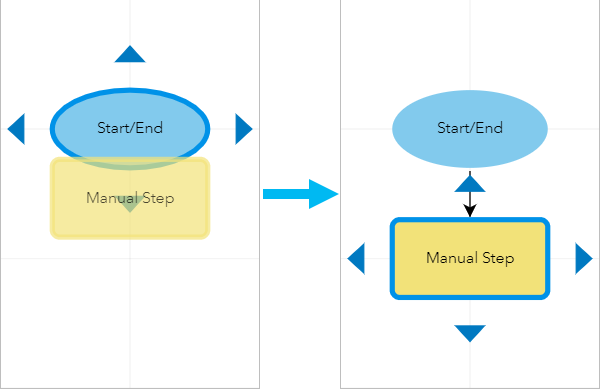
Drag a step template from the Step Library panel to one of the Start/End step's connection arrows.

The step appears in the direction of the connection arrow and is automatically connected to the step.
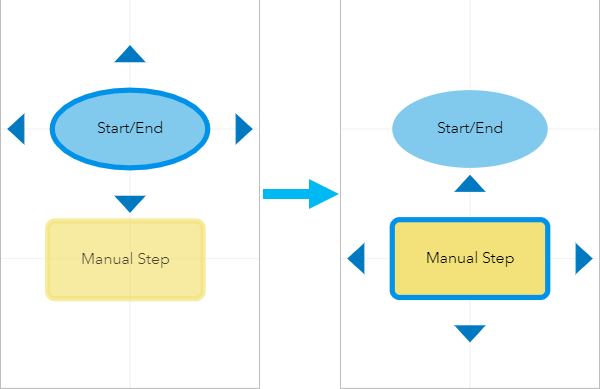
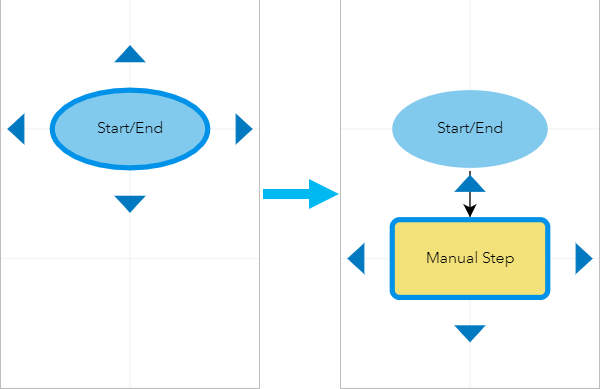
Click a step and click one of its connection arrows to add a Manual Step.

The Manual Step appears in the direction of the arrow and is automatically connected to the step.
Drag a step template from the Step Library panel to an empty area of the canvas.

The step appears on the canvas without a path and must be manually connected.
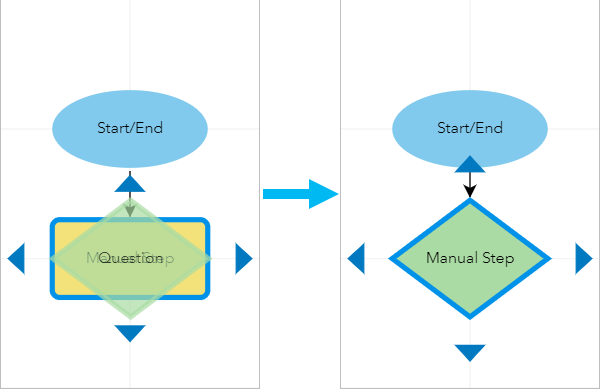
- If you need to change an existing step in a diagram to a different step type, drag and drop a step from the Step Library panel onto the middle of the existing step. Click Yes when the Overwrite Step dialog box appears to replace the step.
When a step is replaced, it retains the original name and any path settings, path assignment, and return code customizations.

- Configure step settings as necessary.
- Add additional paths and configure path settings as necessary.
- Repeat steps 9 through 12 to add additional steps to the workflow diagram.
- Click Save to save a draft of the workflow diagram.
A confirmation message appears, and Draft appears next to the name of the diagram.
- When the workflow diagram is ready for use, click Activate to make it available for use in job templates.
A message appears asking if you want to create a new job template from the new workflow diagram.
- Click Back to return to the Design page.
Edit workflow diagrams
Complete these steps to edit workflow diagrams:
- Access the Workflow Manager web app.
- Click the Design tab.
The Design page appears.
メモ:
If you don’t have sufficient privileges, you won’t see the Design tab.
- Click the Diagrams button
 .
.The Workflow Diagrams panel and workflow canvas appear.
- Click the workflow diagram that you want to edit in the Workflow Diagrams panel and click Edit.
The Step Library and Settings panels appear and the workflow diagram appears in the workflow canvas.
メモ:
You can type a keyword in the Search Diagrams text box to filter the list to workflow diagrams that contain the keyword.
- Update the diagram as necessary.
- Click Save to save a draft of the workflow diagram.
A confirmation message appears and Draft appears next to the name of the diagram.
- When the workflow diagram is ready for use, click Activate to make it available for use in job templates.
メモ:
Once the workflow diagram has been activated, it will be used for all new jobs. Existing jobs will continue to use the previous version of the workflow diagram and the job's diagram will not be updated.
Delete workflow diagrams
Complete these steps to delete workflow diagrams:
- Access the Workflow Manager web app.
- Click the Design tab.
The Design page appears.
メモ:
If you don’t have sufficient privileges, you won’t see the Design tab.
- Click the Diagrams button
 .
.The Workflow Diagrams panel and workflow canvas appear.
- Click the workflow diagram you want to delete in the Workflow Diagrams panel.
- Click the More Actions button
 and click Delete Diagram.
メモ:
If there are active jobs or job templates in the system associated with the workflow diagram, it can't be deleted.